Mid 2014 saw the latest Raspberry Pi model B+ released and everyone received emails advertising this new beauty.
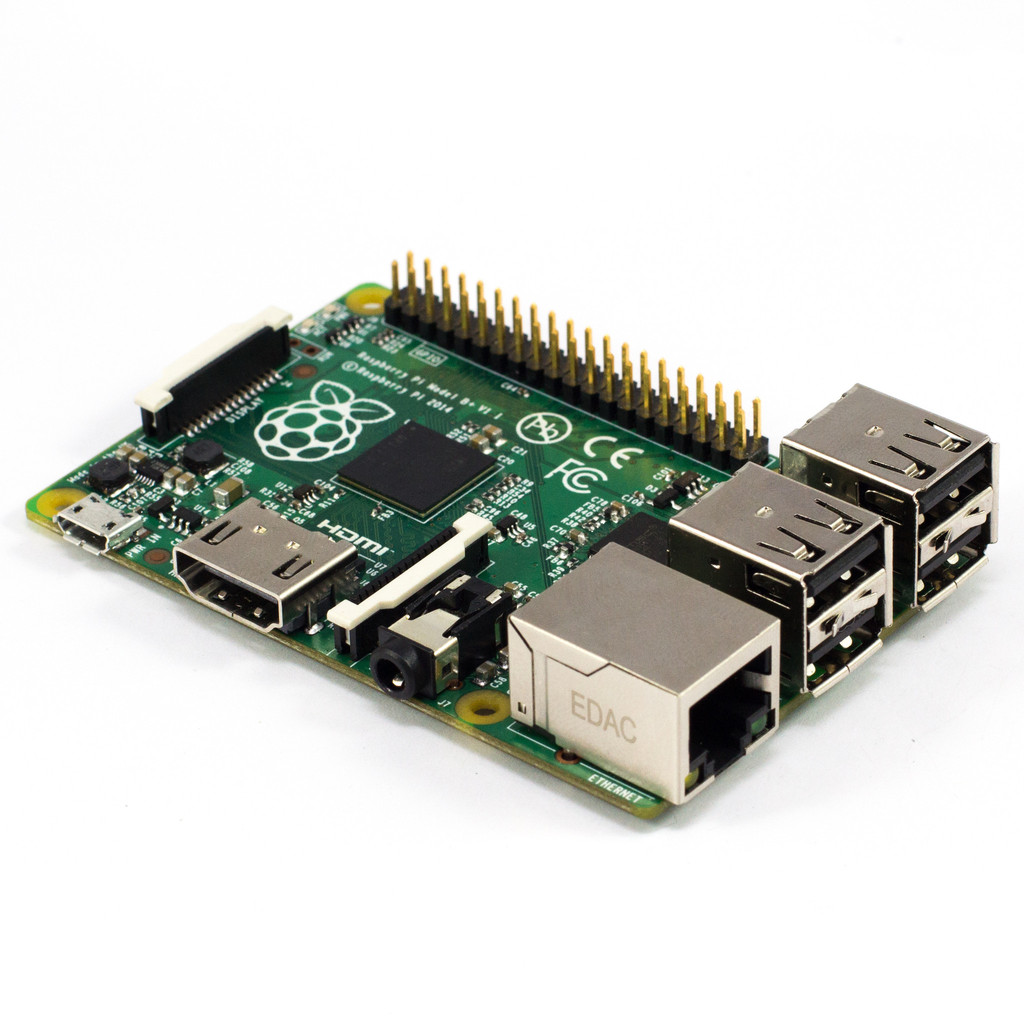
Amongst the new features is an extended GPIO connector, 2 extra USB ports, microSD and reduced power consumption.
Apart from the new features my propellor head demands that I have the latest model, so I got one shipped from element14, plugged in the SD card image that was running on my "old" RaPi model B, only to end up bitterly disappointed as it would't even boot up. With a monitor connected I found that it remained dark, not hint of the RaPi even attempting to boot. For a moment I thought I had RaPi that was "Dead On Arrival" but a download of the latest raspbian wheezy image soon proved me wrong.
If you run an image downloaded from Western D-Star (or any other site) which is based on Debian Wheezy HF 25-09-2013 base image, you are out of luck with the latest RaPi B+, it will not boot. As of the date of writing this article, there is no image available for download from Western D-Star that will work with the RaPi B+ model. The solution is to get a brand new Debian Wheezy base image and install the G4KLX software yourself.
EDIT - since the original publication of this article I have released a single image download for those that don't want to go through the steps below.
Please look at this article for the image download.
So here is my brief "How To" install the G4KLX image on the RaPi B+.
Backup existing configuration:
If you have and existing installation you should back up the configuration files as per instructions found here.
Prepare the RaPi for G4KLX:
- Get the latest Raspbian Wheezy image from this link.
- In the usual manner (recipe found on many other websites) burn the image to a microSD card.
- Plug in the microSD and fire up the RaPi B+.
- On local screen (connected to RaPi) go through the standard setup and then select "Finish".
- Reboot RaPi.
You should now have a RaPi up and running, ready to install G4KLX D-Star hotspot / repeater software.
If you want to use a remote desktop the follow these instructions to install VNC.
Install G4KLX software:
On the RaPi, using local screen, keyboard & mouse, log into your favourite terminal (e.g. LXterminal).
Become Root:
sudo su -
Install required libraries (maybe some are not essential):
Answer "Y" to any questions when prompted.
apt-get update
apt-get install libwxbase2.8-0:armhf
apt-get install libwxbase2.8-dev
apt-get install libwxgtk2.8-0:armhf
apt-get install libwxgtk2.8-dev
apt-get install libportaudio2:armhf
apt-get install libportaudiocpp0:armhf
apt-get install portaudio19-dev
Download and install the klxupdate script:
wget http://www.westerndstar.co.uk/KLXstuff/klxupdate
install -g bin -o root -m 0775 ./klxupdate "/usr/local/bin"
Run the klxupdate script (which also functions as an installation tool):
klxupdate repeater
klxupdate gateway
On both occasions select 9 to install the latest version and answer Y to the question.
repeater is fairly quick to install but gateway takes a few minutes.
Next we need to create the Desktop Icons by creating a few files
(there may be an easier way to do this, please let me know):
cd /home/pi/Desktop
nano gateway.desktop
Copy the following text into the editor:
[Desktop Entry]
Name=ircDDBGateway
Comment=Application for running ircDDBgateway
Exec=sudo ircddbgateway -gui
Icon=/usr/share/pixmaps/openbox.xpm
Terminal=false
Type=Application
Save with ^O and the exit with ^X
nano gateway_config.desktop
Copy the following text into the editor:
[Desktop Entry]
Name=Gateway Config
Comment=Application for configuring ircDDBGateway
Exec=sudo ircddbgatewayconfig
Icon=/usr/share/pixmaps/obconf.xpm
Terminal=false
Type=Application
Save with ^O and the exit with ^X
nano dstar.desktop
Copy the following text into the editor:
[Desktop Entry]
Name=D-Star Repeater
Comment=Application for running D-Star
Exec=sudo dstarrepeater -gui
Icon=/usr/share/pixmaps/openbox.xpm
Terminal=false
Type=Application
Save with ^O and the exit with ^X
nano dstar_config.desktop
Copy the following text into the editor:
[Desktop Entry]
Name=D-Star Config
Comment=Application for configuring D-Star Repeater
Exec=sudo dstarrepeaterconfig
Icon=/usr/share/pixmaps/obconf.xpm
Type=Application
Save with ^O and the exit with ^X
Configuration of your Hotspot/Repeater:
If you don't have a backup of a pre-existing configuration you can now proceed to configure your gateway and repeater by clicking on the appropriate desktop config icons, modifying the configuration, saving the file and exiting.
If you have a backup from a pre-existing configuration now is the time to restore the backup config files to the RaPi B+:
- Plug in the USB stick that contains the backup files
- A desktop notification window will appear - select "Open in File Manager" and click "OK".
- Open another File Manager window and make sure you are in the /home/pi folder.
- Drag the files "ircddbgateway" and "dstarrepeater" from the USB to /home/pi folder.
- Eject and remove USB stick.
- Double click on "LXTerminal"
- Enter (or copy) the commands below:
su -
cd /home/pi
chown root:root ircddbgateway
chown root:root dstarrepeater
mv ./ircddbgateway /etc
mv ./dstarrepeater /etc
This concludes the configuration.
Start your Hotspot/Repeater software:
On the desktop, double click "D-Star Repeater" and "ircDDBGateway".
That's it you're up and running on your RaPi B+
Start Hostspot/Repeater software automatically on startup:
Open LXTerminal an execute the following commands:
sudo su -
cd /home/pi/.config/autostart
nano start_gateway.desktop
Enter (copy) the following text in the editor:
[Desktop Entry]
Type=Application
Exec=sudo ircddbgateway -gui
Save with ^O and the exit with ^X
nano start_repeater.desktop
Enter (copy) the following text in the editor:
[Desktop Entry]
Type=Application
Exec=sudo dstarrepeater -gui
Save with ^O and the exit with ^X
The hotspot/repeater software will now start automatically on boot.
You can contact the author on vk3erw AT gmail DOT com