Update June 2015: This article documents my previous installation - here is an article on my current vehicle installation.
The Icom ID-5100 is a great radio with lots of modern features and a large display. Having used it in the shack for a couple of month the time has come to deploy it in my vehicle.
The Problem:
The ID 5100 lacks a few features which I consider essential in a modern mobile transceiver. So first up my list of issues (whinge):
1) In VK land we can't buy a bracket to mount the transceiver! (and we can't get a delivery date from Icom)
2) The microphone connection is not on the head but on the main unit (extension lead is an optional item).
3) The head does not have a built in speaker, the speaker is located in the main unit (which is normally mounted under a seat or somewhere out of the way/hidden) .
I'm spoilt by the IC 7100 which has a speaker and microphone connection on the head so the connection between head and main unit consists of a single 8pin RJ45 cable. The single cable feature makes for a very simple installation and allows the main unit to be installed anywhere in the vehicle. In my instance, I have the IC-7100 mounted behind the rear seats.
I was hoping to reuse the installed cables, remove the IC-7100 (which I take only on long trips) and drop in the ID-5100 (maybe with a few additional adapters), for normal day-to-day use. However, the above list of issues made this difficult to achieve without running new (additional) leads and creating a mess with lots of leads running from the bback to the front of the vehicle where things are already tight.
The Solution:
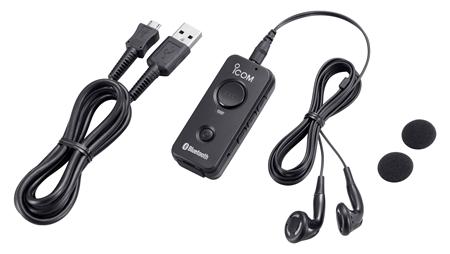
Since I have received my Icom VS-3 Bluetooth headset I can see my way clear to get the ID-5100 installed. I no longer need to run a microphone cable to the front of the vehicle when using the bluetooth hands free with headphones (optional). The ID-5100 can configured to produce audio on the bluetooth headset and internal speaker simultaneously, so one can have a general listen through the transceiver speaker and if required (i.e. during QSO) use the provided headphones on the VS-3.
Mounting main unit:
Mounting the ID-5100 in the same spot as the IC-7100 is not too much of a problem, a couple of adapter plates cut from engineering plastic, drilled and taped, provided the solution to that problem:
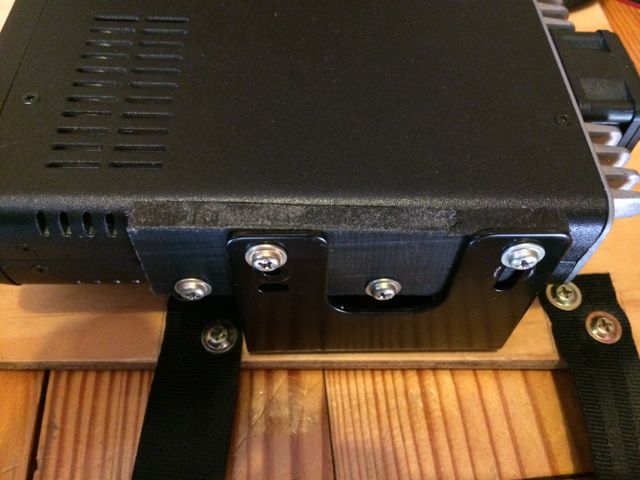
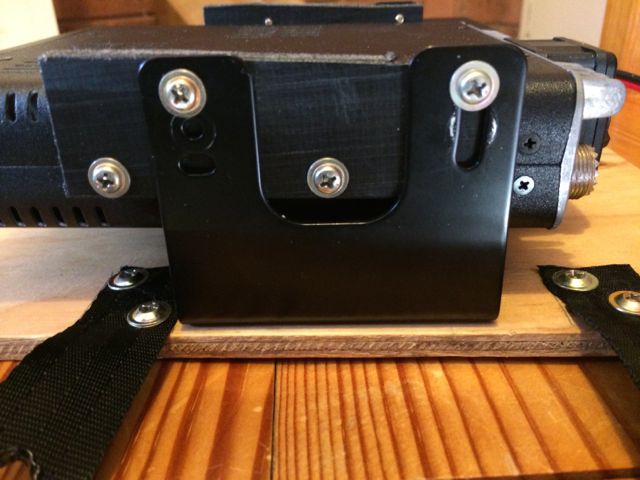
As shown in photos above the ID-5100 can be removed with 4 bolts and the IC-7100 drops straight in. The material of the adapter plates is not important, I used UHMWPE because I had some in stock, Aluminium would also do the job, as long as the thickness is 8-9mm.
Here is the engineering drawing for the adapter plates:
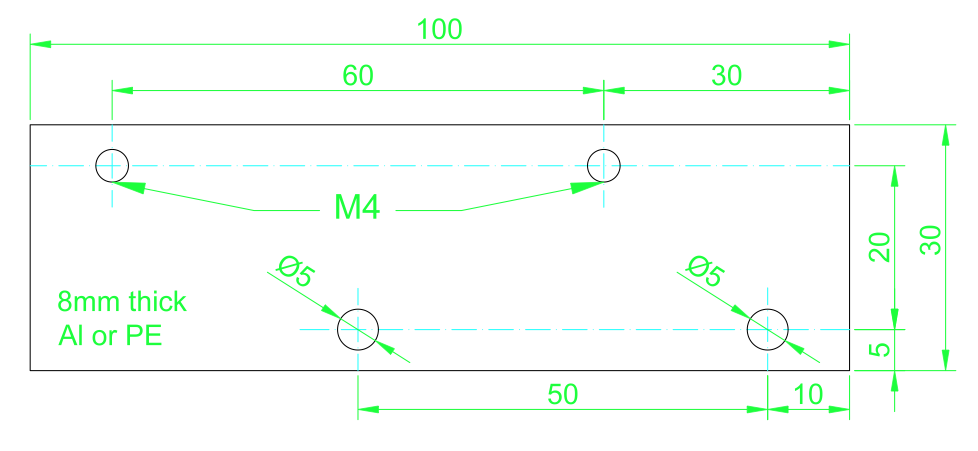
The mounting holes in the ID-5100 main unit are threaded M4, make sure the bolts are not too long as you could damage the inside of the transceiver.
Mounting the head:
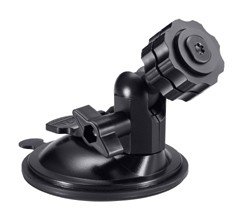
The head of the ID-5100 requires an MBA-2 bracket which uses the same mount as the IC-7100 head so will fit straight onto the MBF-1 suction cup bracket:
Connection Cable:
Just to make sure things remain incompatible between models, Icom uses a 8pin connector on the IC 7100 a 6pin connector on the ID-5100. The solution consists of two home made 8pin to 6pin adapters and two common CAT5 inline couplers as pictured below
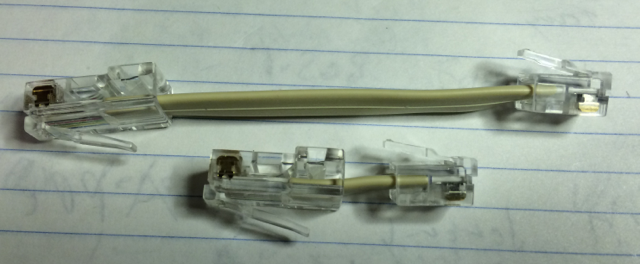
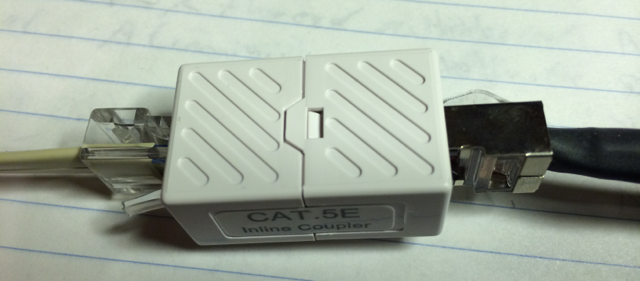
The adapters are made from standard components available at outlets such as Jaycar where you can also get the CAT5 coupler, albeit at a somewhat inflated price.
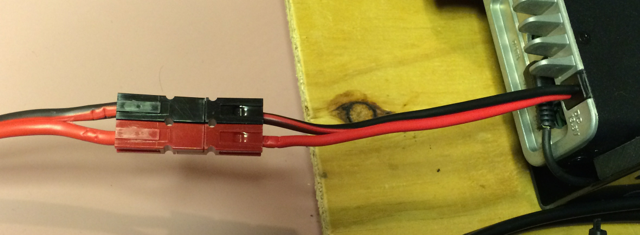
Power Lead:
No consistency there either, a 4 pin plug on the IC-7100 and a 2pin T-connector on the ID-5100. I admit, the IC-7100 has a higher current consumption and therefore justifies the extra connectors. The IC-7100 specification states a maximum current of 22A, so the Anderson Powerpole connectors, available in 30A and 45A versions, make a very good replacement for the T-connector on the ID-5100 and are suitable to be inserted in the IC-7100 power cable which is already installed in the vehicle.
Head Installation:
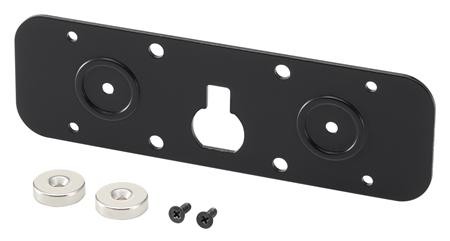
The head bracket MBA-2 is supplied with 2 magnets. The magnets are mounted on the back of the head and the bracket plate attaches to the MBF-1 suction cup mount which is firmly sucked to the top of the dashboard.
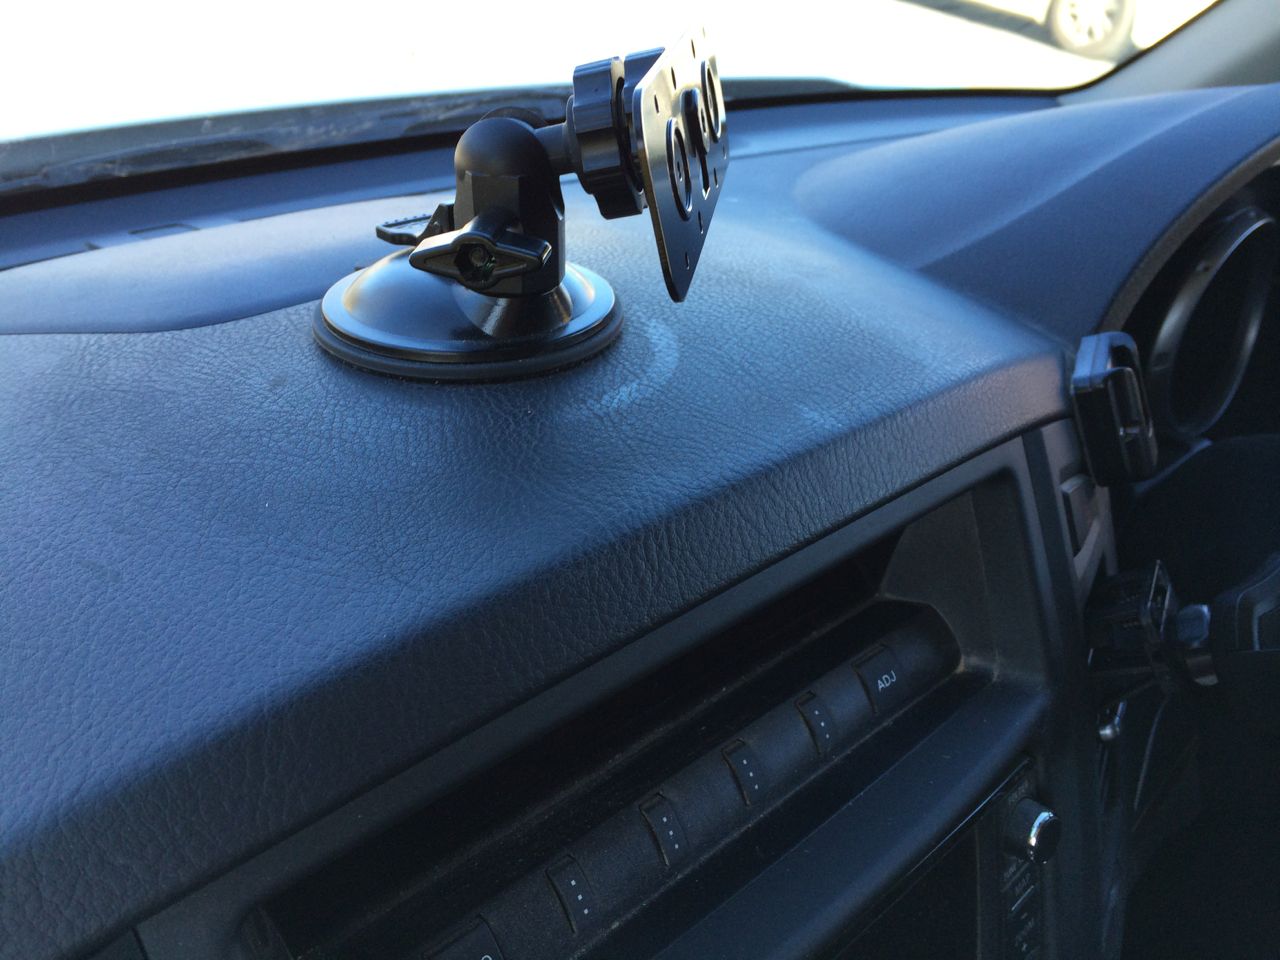
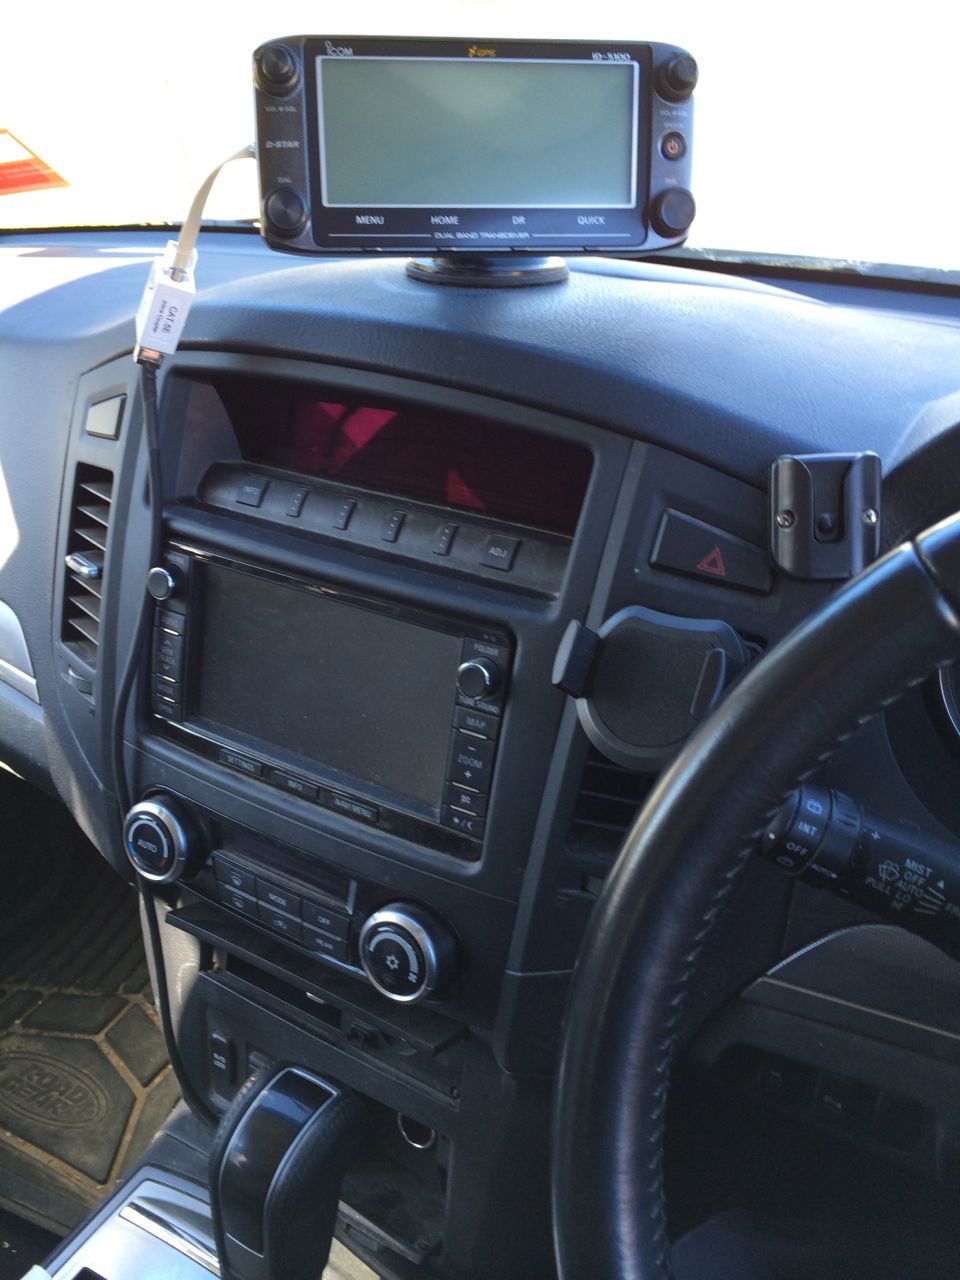
Here is a picture of the head unit mounted in position on the dashboard. The purpose of white CAT5 adapter on the left hand side is explained above.
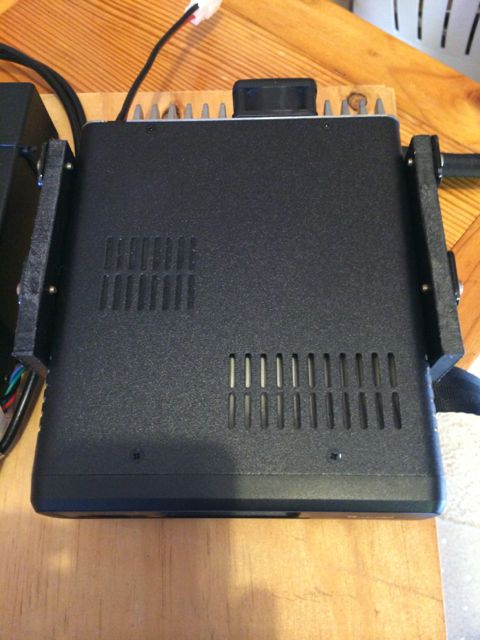
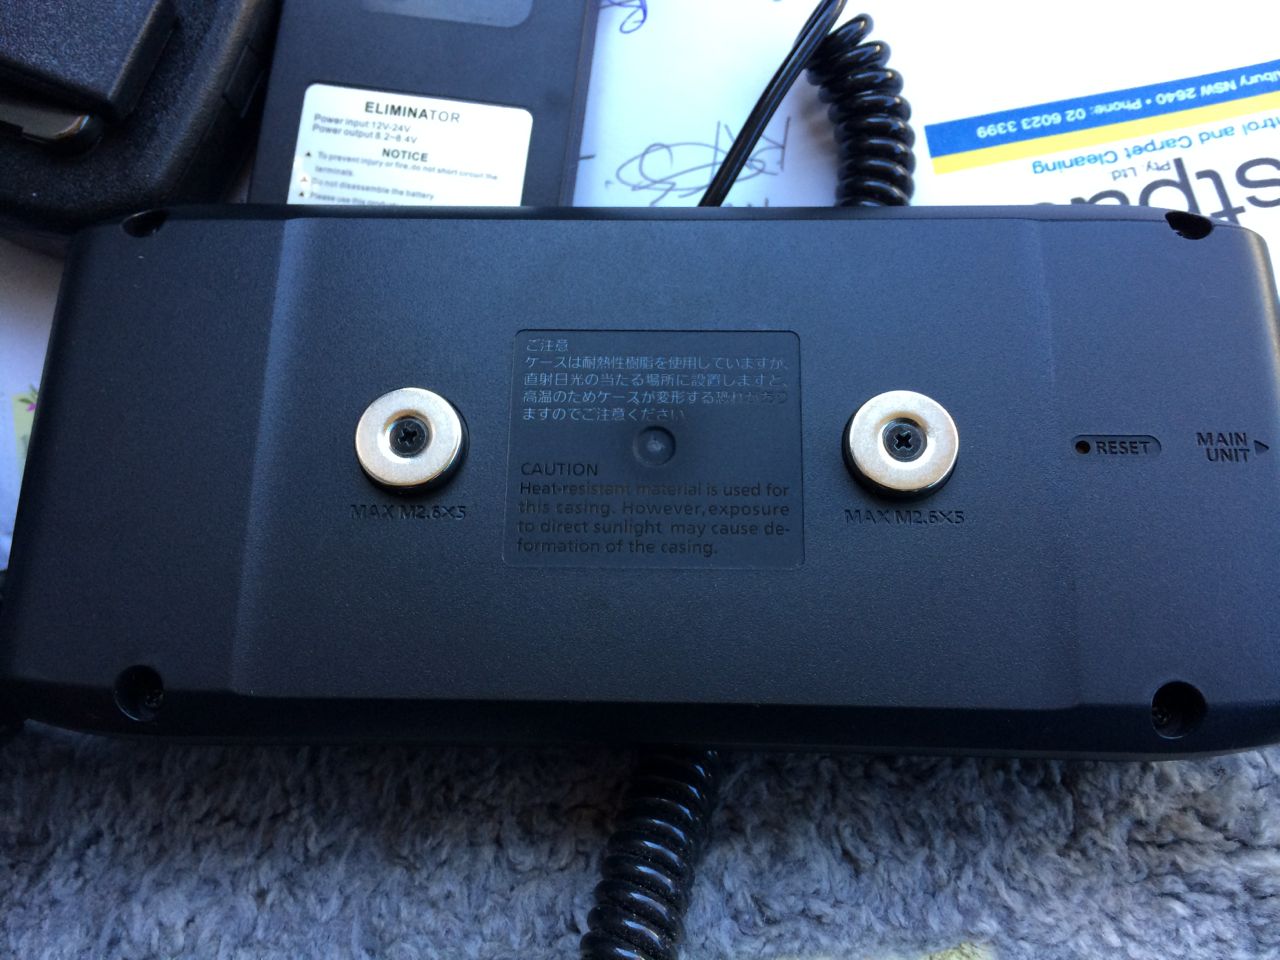
Main unit installation:

The black unit under the transceiver is a the LDG100 automatic tuner. It servers no purpose (and is not connected) in the above picture but does get used when the IC-7100 is is use (in the same bracket as the ID-5100).
Summary
The ID-5100 is the ultimate mobile transceiver with it's dual band coverage, modern design and user-friendly features. Although MkII (I assume there will be one!) of the ID-5100 will be an improvement I'm more than happy with the current version and can recommend it to anyone.