Raspberry Pi How To: Use SSH key for login

Terminal login can be performed without the need to enter a password every login session.

You need to generate a RSA key pair and then place the public key into the servers "authorized_keys" file.

First check if the RSA key pair is already present in the users ~/.ssh directory. The default names...

Continue reading...

Raspberry Pi How To: Update

Keeping the Raspberry Pi up-to-date with the latest version OS and installed software is quite easy.
It requires your Pi to have a network connection to the internet.

These commands will update raspian and perform a cleanup:

sudo apt-get update
sudo apt-get upgrade
sudo apt-get dist-upgrade
sudo...
Continue reading...

Raspberry Pi How To: Tether to iPhone 5

This is a brief "How To" tether your Raspberry Pi to an iPhone5 for the purpose of providing an internet connection to the RaPi:

Power Considerations (Important!):

The iPhone draws considerable power and the current available at the RaPi USB port is limited. My experience has shown that I can co...

Continue reading...

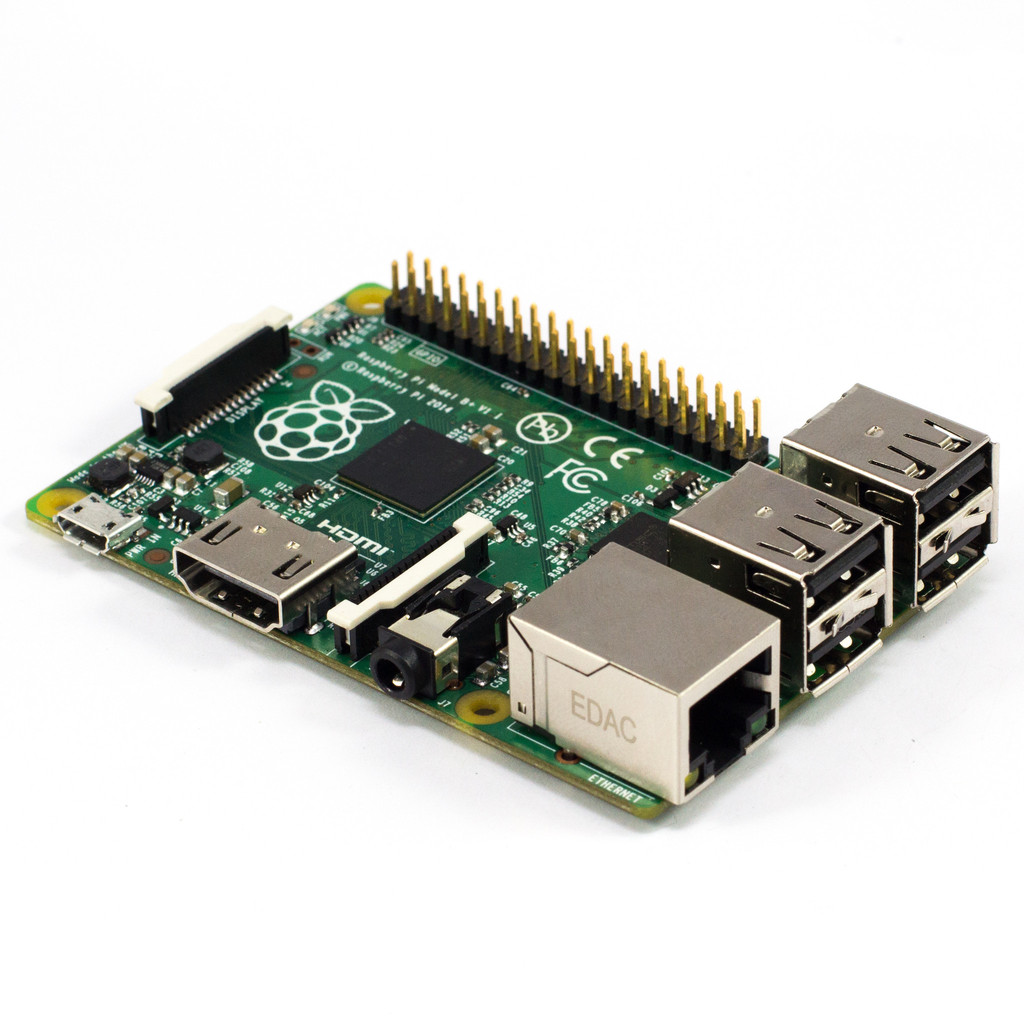
G4KLX on Raspberry Pi B+

Mid 2014 saw the latest Raspberry Pi model B+ released and everyone received emails advertising this new beauty.

Amongst the new features is an extended GPIO connector, 2 extra USB ports, microSD and reduced power consumption. 

Raspberry Pi B+
Raspberry Pi B+

Apart from the new features my propellor hea...

Continue reading...

Raspberry Pi general notes

After connecting a Raspberry Pi to t he network the acquired IP address may not be apparent.

To find the RaPi's IP address on OS X you can use "arp -a" for a list of subnet ip addresses. This list can be updated by pinging the subnet's broadcast address (e.g. ping 192.168.2.255). 

Continue reading...

NOIP setup on Debian Wheezy

After downloading and installing noip2 you need to take a few more steps.

The noip2 binary is installed in the correct directory (/usr/local/bin) but the noip2.sh file is not, it remains in the installation directory.

1) move noip2.sh to /etc/init.d/

2) rename noip2.sh to noip2

3) add the fo...

Continue reading...